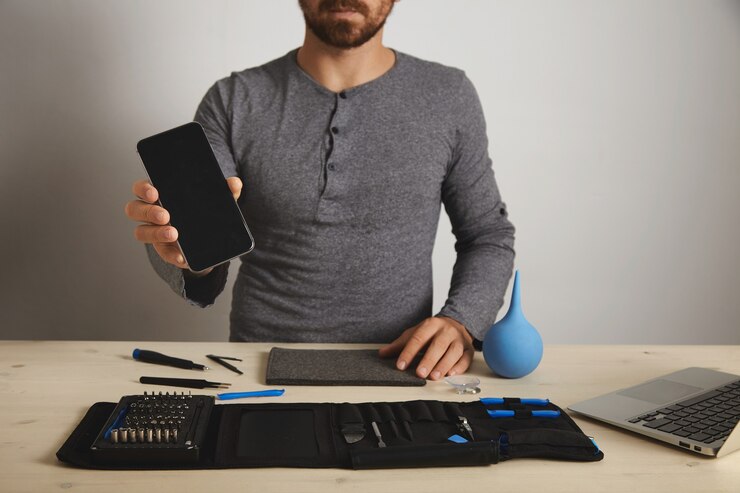
Facing phone issues? At Phone Chat, we know how frustrating it can be when your device malfunctions. Whether it’s a cracked screen, a battery that dies too quickly, or software that freezes, learning a few repair tricks can help you troubleshoot problems yourself and save money. This guide offers easy DIY solutions to common phone problems with practical tips that even a novice can handle. From quick fixes to preventive care, these steps will help you keep your device running smoothly. With the right tools and a little patience, many issues can be solved without a trip to a repair shop.
Table of Contents
Key Takeaways
- Screen repair: Use heat to soften the adhesive and lift the screen.
- Battery replacement: Power off before replacing the battery.
- Charging port cleaning: Remove dust carefully with a wooden tool.
- Software reset: Update or perform a soft reset to fix freezes.
- Button repair: Clean with alcohol to remove dirt buildup.
1. Screen Repairs – Be Delicate with the Glass
- A cracked screen is a common issue, but it’s not always as complicated to fix as it may seem. For minor cracks, applying a liquid screen protector can help prevent further damage while maintaining the phone’s usability. In cases of severe damage, screen replacement kits are readily available for most phone models, complete with tools and instructions.
- To replace the screen yourself, start by heating the phone’s edges using a hairdryer to loosen the adhesive. This will make it easier to detach the damaged screen. Use a plastic prying tool to carefully lift the screen away from the frame. Avoid applying too much force, as this can cause damage to delicate internal components like the display connectors.
2. Battery Replacement – Restore Your Phone’s Lifeline
- A phone battery that drains quickly or struggles to hold a charge is usually a sign that it’s time for a replacement. DIY battery replacement kits are widely available, but it’s essential to choose one that matches your phone model to ensure compatibility. Having the correct tools and components on hand will prevent further issues.
- Before starting the replacement process, power off the phone to avoid electrical shorts. Carefully pry open the back cover using a plastic tool and disconnect the old battery. Gently remove it, taking care not to puncture it, as the adhesives holding it in place can be strong. Insert the new battery, secure the connections, and close the cover.
3. Charging Port Fixes – Clean It Before Replacing It
- If your phone isn’t charging correctly, the problem may not always be the charging port itself but rather dust or lint that has accumulated inside. Use a wooden toothpick or compressed air to carefully clean the port. Avoid using metal tools, as they can damage the internal contacts and create bigger problems. If the issue persists after cleaning, try testing the charger with another device to rule out cable or adapter faults.
- If cleaning doesn’t solve the issue, a replacement might be necessary. This type of repair often requires disassembling the phone and removing the motherboard to access the port. It can be complex, so ensure you have the right tools and take care not to damage other parts while working.
4. Software Issues – Reset or Update
- Phones can become sluggish or freeze entirely due to outdated software, corrupted apps, or system bugs. Begin troubleshooting by performing a soft reset, which involves holding down the power button and the volume down button simultaneously. This process will reboot the phone without erasing any data.
- If the problem continues, try checking for software updates in the settings menu, as these updates often include essential bug fixes and performance enhancements. If the issue remains unresolved, performing a factory reset may be necessary to restore the device to its default settings. Updating your device regularly can help prevent issues from recurring. Be sure to back up any important data beforehand to avoid losing valuable information.
5. Unresponsive Buttons – Fix with Simple Cleaning
- When physical buttons like the power or volume keys stop working, it’s often due to dirt, dust, or residue build up around the edges. Take a cotton swab dipped in isopropyl alcohol and gently clean the area surrounding the button. Avoid using too much liquid, as this can seep into the phone and cause additional issues.
- If cleaning doesn’t resolve the problem, it might indicate a mechanical fault. In such cases, replacing the button or underlying component may be necessary. Some models allow for easier replacements, while others may require more intricate disassembly, so follow repair guides specific to your device.
Conclusion
While DIY repairs are an excellent way to save time and money, not every repair is straightforward. For more complex issues or if you’re unsure about a repair, reach out to the experts at Phone Chat. We provide professional phone repair services and ensure your device is back in perfect working condition. With years of experience, our team handles everything from hardware replacements to software troubleshooting. Contact us today and let us take care of your phone repair needs.
FAQs
Yes, but you’ll need a replacement kit and patience. Follow online guides carefully to avoid damaging other components.
If your phone dies quickly or shuts down unexpectedly, it’s likely time for a battery replacement.
First, try cleaning the charging port. If that doesn’t work, consider replacing the port or seeking professional help.
Yes, but only if you use proper tools. Avoid using metal objects that can damage the phone’s interior.
Try a soft reset or update your phone’s software. If the issue continues, consider a factory reset as a final option.
Clean the buttons with isopropyl alcohol. If they remain unresponsive, you may need to replace them.


